
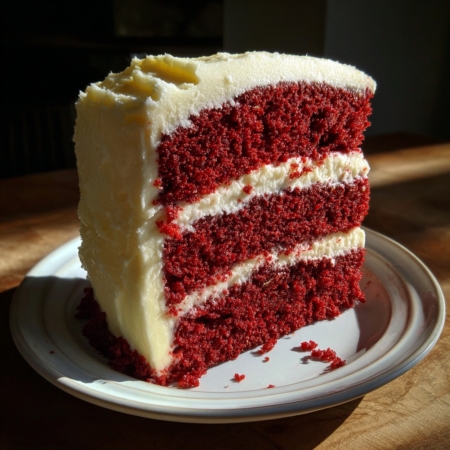
Introduction to Red Velvet Cake Recipe
Ah, the Red Velvet Cake Recipe—a timeless classic that never goes out of style. It’s like that little black dress in your closet, always ready to impress. Whether you’re a busy mom juggling a million things or a professional looking for a sweet escape, this cake is your go-to. It’s the kind of dessert that makes you feel like you’ve got it all together, even when life is a whirlwind.
Why You’ll Love This Red Velvet Cake Recipe
Let me tell you, this Red Velvet Cake Recipe is a lifesaver. It’s quick to prepare, which means you can whip it up even on a hectic weekday. And the cleanup? Minimal. Just a few bowls and a mixer, and you’re done. It’s like magic in the kitchen.
Table of contents
The flavors are family-friendly, too. The cake’s moist, rich texture is a hit with kids and adults alike. It’s sweet but not overly so, with just the right amount of tang from the cream cheese frosting. Trust me, this cake will become a staple in your dessert repertoire.
Ingredients You’ll Need

- 2 1/2 cups all-purpose flour
- 1 1/2 cups granulated sugar
- 1 teaspoon baking soda
- 1 teaspoon salt
- 1 teaspoon cocoa powder
- 1 1/2 cups vegetable oil
- 1 cup buttermilk, room temperature
- 2 large eggs, room temperature
- 2 tablespoons red food coloring
- 1 teaspoon vanilla extract
- 1 teaspoon white vinegar
- 1/2 cup unsalted butter, softened
- 8 oz cream cheese, softened
- 4 cups powdered sugar
- 1 teaspoon vanilla extract
Each ingredient plays a crucial role in this Red Velvet Cake Recipe. The all-purpose flour gives the cake its structure, while the cocoa powder adds a subtle chocolate flavor. And let’s not forget the cream cheese, which makes the frosting irresistibly creamy.
If you’re out of buttermilk, don’t fret. You can substitute it with Greek yogurt for a similar tangy effect. And if you’re looking for a natural alternative to red food coloring, beet juice works wonders. Just a few drops will give your cake that signature red hue.
For those who love to print and keep recipes handy, I’ve got you covered. You’ll find printable measurements at the end of this article, so you can have them at your fingertips whenever the baking bug bites.
How to Make Red Velvet Cake Recipe

Step 1 – Prep Ingredients
Alright, let’s get this Red Velvet Cake Recipe rolling! First things first, preheat your oven to 350°F (175°C). This is like setting the stage for a grand performance. While the oven warms up, grab your two trusty 9-inch round cake pans. Grease and flour them well—think of it as giving your cake a non-stick runway to rise and shine.
Step 2 – Begin Cooking
Now, let’s dive into the dry ingredients. In a medium bowl, whisk together the flour, sugar, baking soda, salt, and cocoa powder. It’s like creating a symphony of flavors that will soon dance together in perfect harmony. Meanwhile, in a large bowl, mix the wet ingredients: oil, buttermilk, eggs, red food coloring, vanilla extract, and vinegar. This vibrant mixture is the heart of our Red Velvet Cake Recipe, bringing it to life with color and flavor.
Step 3 – Combine Ingredients
Here’s where the magic happens. Gradually add the dry ingredients to the wet mixture, stirring until everything is smooth and well combined. It’s like watching a masterpiece come together, one stroke at a time. Once your batter is ready, divide it evenly between the prepared cake pans. This ensures that each layer bakes evenly, creating a beautiful, uniform cake.
Step 4 – Finish and Serve
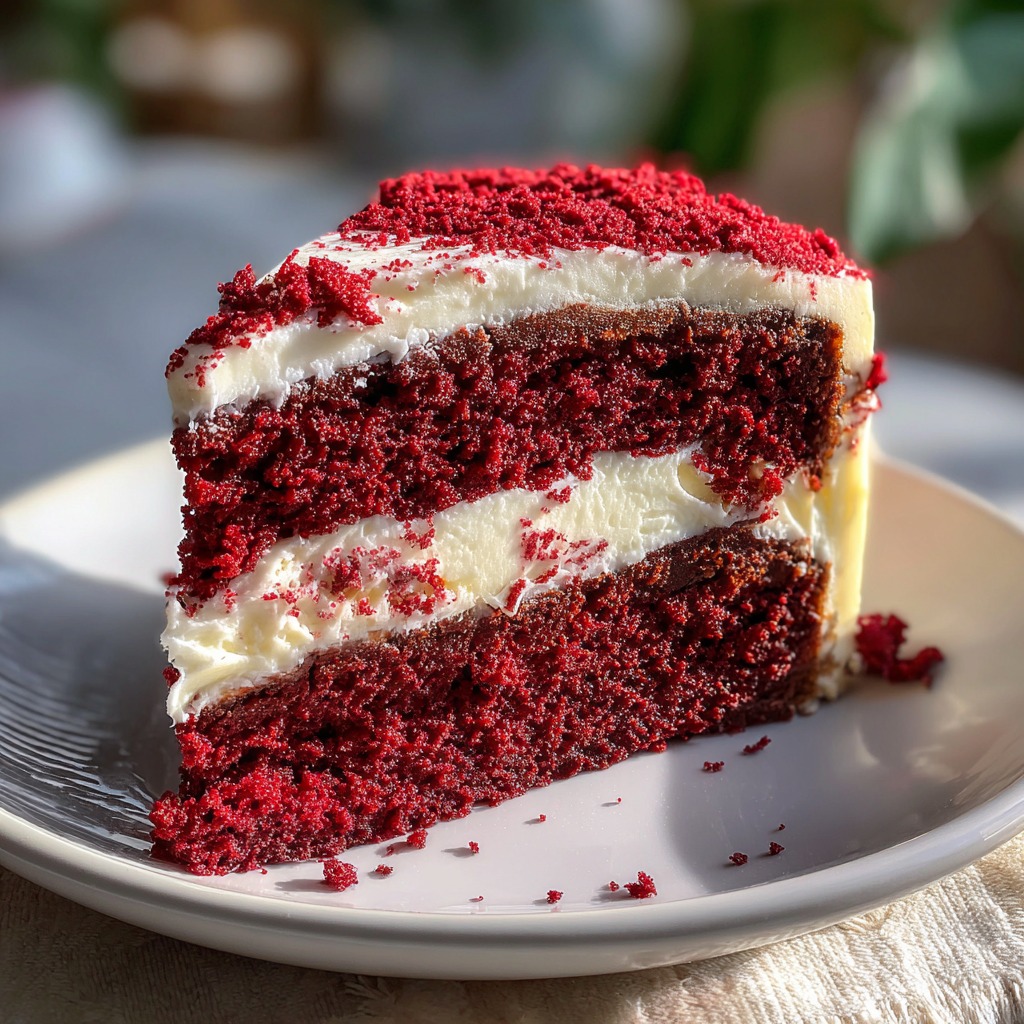
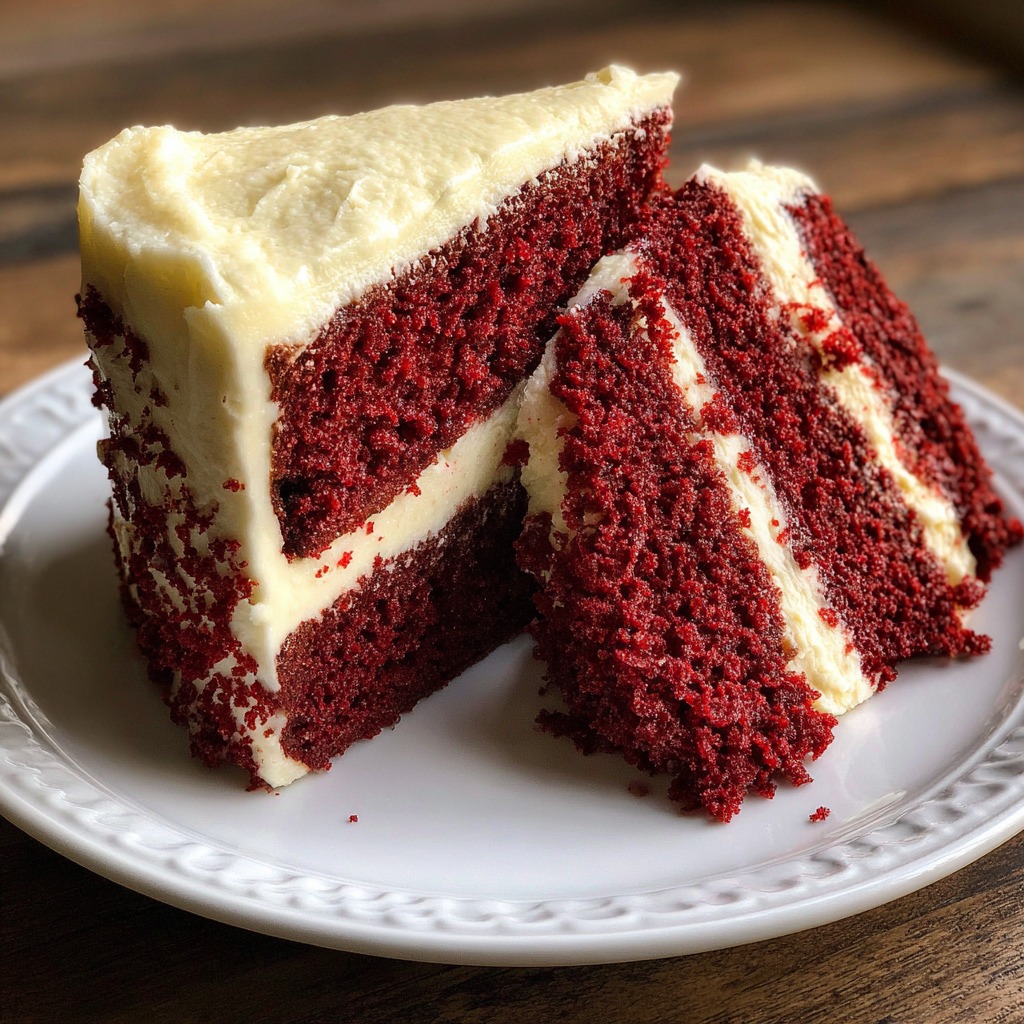
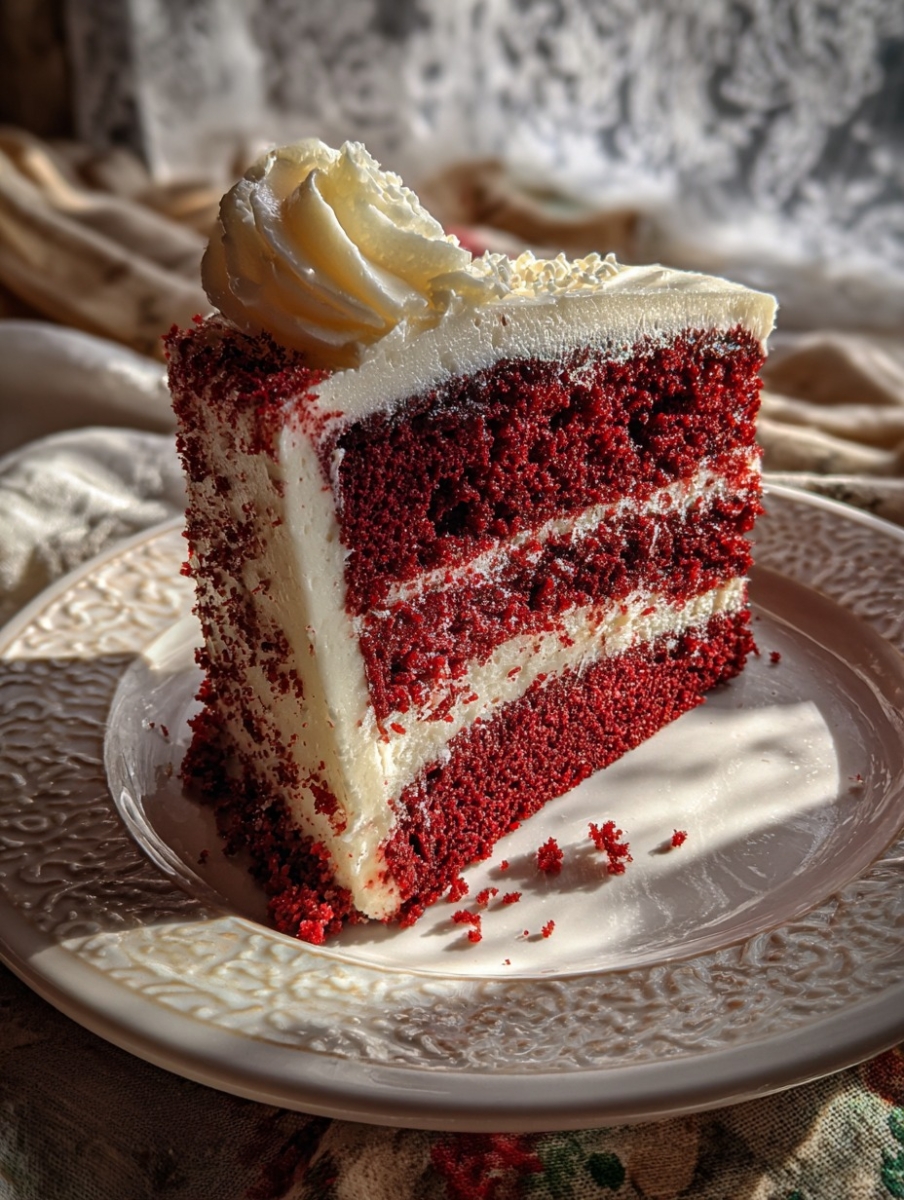
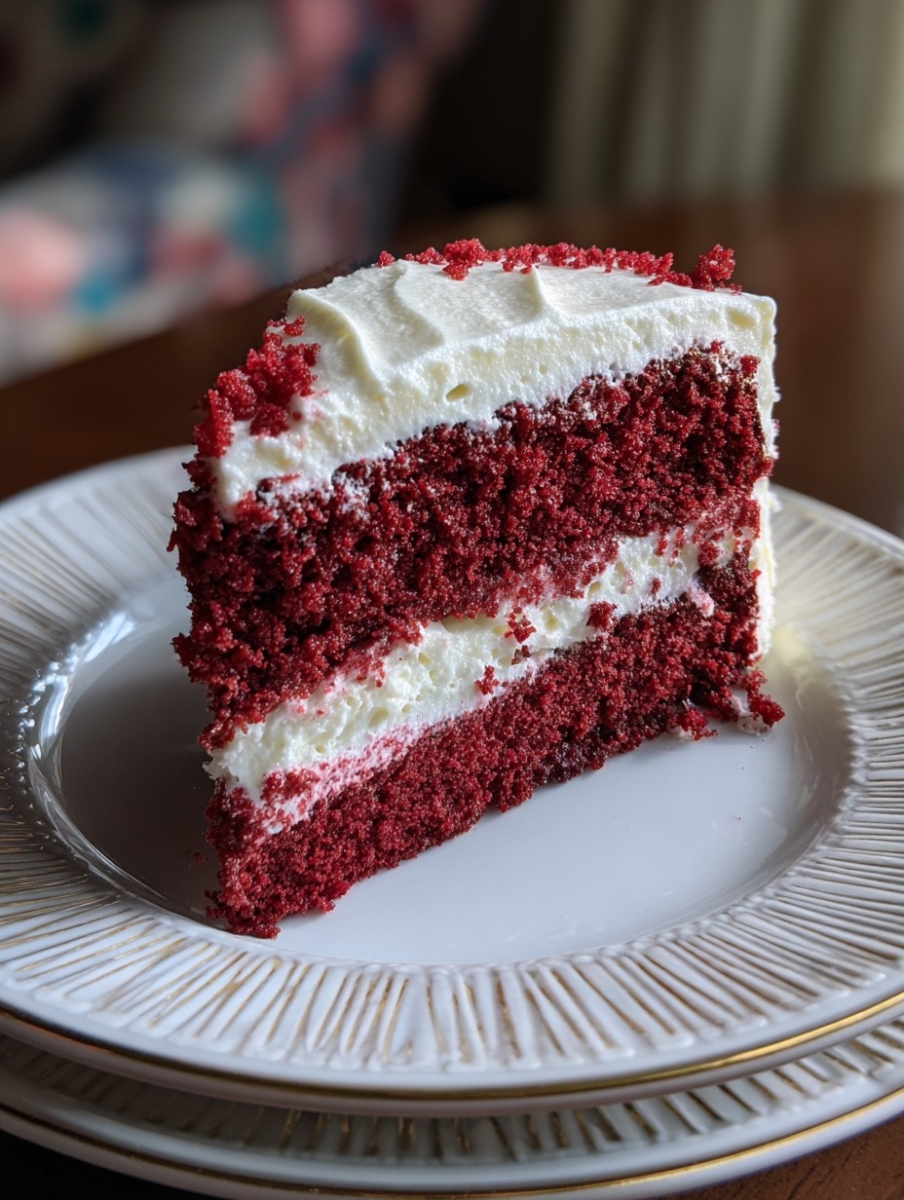
Pop those pans into the oven and let them bake for 25-30 minutes. You’ll know they’re done when a toothpick inserted into the center comes out clean. As the cakes cool on a wire rack, it’s time to whip up the frosting. Beat the softened butter and cream cheese until smooth, then gradually add the powdered sugar and vanilla extract. The result? A light, fluffy frosting that’s the perfect complement to our Red Velvet Cake Recipe.
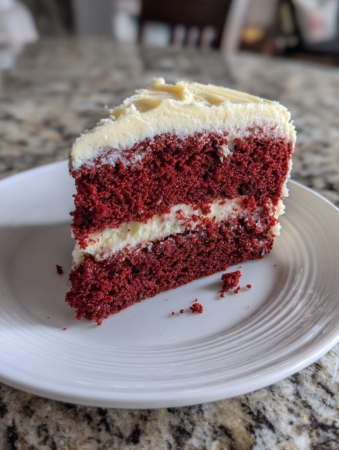
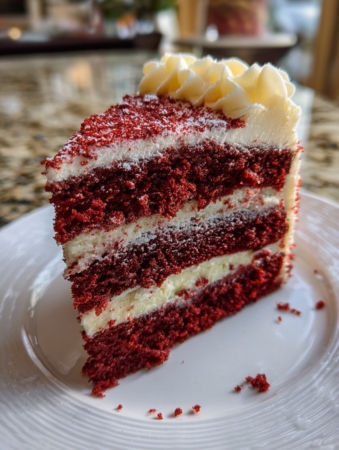
Once the cakes are completely cool, spread a generous layer of frosting on top of one cake layer. Place the second layer on top and frost the top and sides of the cake. It’s like dressing your cake in its Sunday best, ready to impress. For the final touch, refrigerate the cake for at least 30 minutes to set the frosting. Then, slice, serve, and watch as your family and friends savor every bite of this classic dessert.
Why You’ll Love This Red Velvet Cake Recipe
Let me tell you, this Red Velvet Cake Recipe is a lifesaver. It’s quick to prepare, which means you can whip it up even on a hectic weekday. And the cleanup? Minimal. Just a few bowls and a mixer, and you’re done. It’s like magic in the kitchen.
The flavors are family-friendly, too. The cake’s moist, rich texture is a hit with kids and adults alike. It’s sweet but not overly so, with just the right amount of tang from the cream cheese frosting. Trust me, this cake will become a staple in your dessert repertoire.
How to Make Red Velvet Cake Recipe

Tips for Perfect Results
When it comes to nailing this Red Velvet Cake Recipe, a few simple tips can make all the difference. First and foremost, ensure all your ingredients are at room temperature. Trust me, this little step is like the secret handshake of baking. It helps everything blend smoothly, giving your cake that perfect, tender crumb.
Now, let’s talk about the color. The red hue is the star of the show, and you can adjust the red food coloring to achieve your desired shade. Want a bold, vibrant red? Go ahead and add a bit more. Prefer a softer, more subtle tone? Dial it back a notch. It’s like painting a masterpiece—you’re the artist, and the cake is your canvas.
And if you’re a chocolate lover like me, here’s a little secret: increase the cocoa powder by 1-2 teaspoons for a richer chocolate flavor. It’s like adding a touch of luxury to your Red Velvet Cake Recipe, making each bite even more indulgent. So go ahead, experiment a little, and make this classic dessert truly your own.
Essential Equipment Needed
Before diving into this Red Velvet Cake Recipe, let’s make sure your kitchen is equipped with the essentials. Think of these tools as your trusty sidekicks, ready to help you whip up a dessert masterpiece.
- Two 9-inch round cake pans: These are the stars of the show, providing the perfect stage for your cake layers to rise and shine. Make sure they’re well-greased and floured to prevent any sticky situations.
- Wire rack for cooling: Once your cakes are out of the oven, this wire rack is where they’ll cool down and relax. It’s like a spa day for your cake, ensuring it cools evenly and doesn’t get soggy on the bottom.
- Electric mixer for frosting: Whether it’s a stand mixer or a trusty hand mixer, this tool is your best friend when it comes to achieving that smooth, creamy frosting. It’s like having a personal assistant in the kitchen, making sure your cream cheese frosting is light, fluffy, and ready to dazzle.
With these tools in hand, you’re all set to tackle this Red Velvet Cake Recipe with confidence. So roll up those sleeves, and let’s get baking!
Delicious Variations of Red Velvet Cake Recipe
Now, let’s talk about putting a twist on this classic Red Velvet Cake Recipe. Sometimes, a little change can make a world of difference, especially if you’re catering to specific dietary needs or just feeling adventurous in the kitchen.
First up, let’s dive into the keto-friendly version. If you’re watching your carbs but still crave that rich, velvety goodness, swap out the all-purpose flour for almond flour. It’s like giving your cake a low-carb makeover without sacrificing flavor. And instead of granulated sugar, use a sugar substitute like erythritol or monk fruit sweetener. These swaps keep the cake moist and delicious while fitting perfectly into a keto lifestyle.
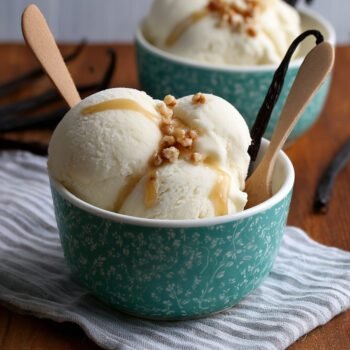
Serving Suggestions

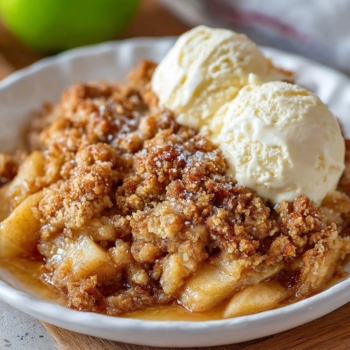
Now that you’ve crafted this delightful Red Velvet Cake Recipe, let’s talk about how to serve it in style. After all, presentation is half the fun, right? Imagine slicing into that rich, velvety cake and pairing it with just the right accompaniments to elevate the experience.
First up, let’s consider the classic pairing: a scoop of vanilla ice cream. It’s like the yin to the cake’s yang, offering a creamy, cool contrast to the cake’s warm, rich flavors. As the ice cream slowly melts over a slice of cake, it creates a luscious sauce that makes each bite even more indulgent. It’s a match made in dessert heaven, perfect for those who love a little extra decadence.
FAQs About Red Velvet Cake Recipe
When it comes to baking, questions are bound to pop up, especially with a classic like the Red Velvet Cake Recipe. Let’s tackle some of the most common queries to ensure your cake turns out perfectly every time.
Can I make this cake ahead of time? Absolutely! In fact, making this Red Velvet Cake Recipe a day in advance can enhance its flavors. Once you’ve baked and frosted the cake, simply store it in the fridge. It’s like giving the cake a little beauty rest, allowing the flavors to meld together beautifully. Just be sure to cover it well to keep it fresh and prevent it from drying out.
How do I store leftovers? If you find yourself with leftover cake (a rare occurrence, I know!), storing it properly is key to maintaining its deliciousness. Place the cake in an airtight container and pop it in the refrigerator. This will keep it fresh for up to 5 days. It’s like giving your cake a cozy little home, ensuring it stays moist and flavorful until you’re ready for another slice.
Can I freeze the cake? Yes, you can! Freezing is a fantastic option if you want to enjoy your Red Velvet Cake Recipe at a later date. To freeze, wrap the cake tightly in plastic wrap, then in a layer of foil. This double wrapping acts like a protective shield, keeping freezer burn at bay. You can freeze the cake for up to 3 months. When you’re ready to indulge, simply thaw it in the refrigerator overnight. It’s like having a delicious surprise waiting for you in the freezer, ready to delight your taste buds whenever the craving strikes.
With these tips in mind, you’re all set to enjoy your Red Velvet Cake Recipe to the fullest. Whether you’re planning ahead, storing leftovers, or freezing for later, these FAQs have got you covered. So go ahead, bake with confidence, and savor every delightful bite of this classic dessert.
Final Thoughts on Red Velvet Cake Recipe

As I wrap up this culinary journey, I can’t help but smile at the thought of you diving into this Red Velvet Cake Recipe. It’s one of those desserts that brings joy not just in the eating, but in the making. The process is straightforward, almost like a well-rehearsed dance, where each step flows seamlessly into the next. From mixing the vibrant red batter to spreading that creamy, dreamy cream cheese frosting, it’s a delightful experience from start to finish.
Print
Red Velvet Cake Recipe: Discover a Moist, Rich Classic
- Total Time: 1 hour
- Yield: 12 servings
- Diet: Vegetarian
Description
Discover a moist and rich classic dessert with this Red Velvet Cake recipe, perfect for any occasion.
Ingredients
- 2 1/2 cups all-purpose flour
- 1 1/2 cups granulated sugar
- 1 teaspoon baking soda
- 1 teaspoon salt
- 1 teaspoon cocoa powder
- 1 1/2 cups vegetable oil
- 1 cup buttermilk, room temperature
- 2 large eggs, room temperature
- 2 tablespoons red food coloring
- 1 teaspoon vanilla extract
- 1 teaspoon white vinegar
- 1/2 cup unsalted butter, softened
- 8 oz cream cheese, softened
- 4 cups powdered sugar
- 1 teaspoon vanilla extract
Instructions
- Preheat your oven to 350°F (175°C). Grease and flour two 9-inch round cake pans.
- In a medium bowl, whisk together the flour, sugar, baking soda, salt, and cocoa powder.
- In a large bowl, combine the oil, buttermilk, eggs, food coloring, vanilla extract, and vinegar. Mix until well combined.
- Gradually add the dry ingredients to the wet ingredients, mixing until smooth.
- Divide the batter evenly between the prepared cake pans.
- Bake for 25-30 minutes, or until a toothpick inserted into the center comes out clean.
- Allow the cakes to cool in the pans for 10 minutes, then turn them out onto a wire rack to cool completely.
- For the frosting, beat the butter and cream cheese together until smooth. Gradually add the powdered sugar and vanilla extract, beating until light and fluffy.
- Once the cakes are completely cool, spread a layer of frosting on top of one cake layer. Place the second layer on top and frost the top and sides of the cake.
- Refrigerate the cake for at least 30 minutes before serving to set the frosting.
Notes
- Ensure all ingredients are at room temperature for best results.
- Adjust the amount of red food coloring to achieve your desired shade of red.
- For a more intense chocolate flavor, increase the cocoa powder by 1-2 teaspoons.
- Prep Time: 20 minutes
- Cook Time: 30 minutes
- Category: Dessert
- Method: Baking
- Cuisine: American
Nutrition
- Serving Size: 1 slice
- Calories: 450
- Sugar: 40g
- Sodium: 350mg
- Fat: 22g
- Saturated Fat: 10g
- Unsaturated Fat: 10g
- Trans Fat: 0g
- Carbohydrates: 58g
- Fiber: 1g
- Protein: 5g
- Cholesterol: 60mg


#RedVelvetDelight #DessertPerfection #BakingBliss #ClassicCakeRecipe #HomemadeLove #SweetTreats #BakingPassion #FamilyBakes #DeliciousDessert #VelvetBakes
Related Posts
-
 Matcha Chia Pudding: Energize with a Creamy Delight!Introduction to Matcha Chia Pudding Discover the perfect blend of health and taste with Matcha…
 -
 Vanilla Bean Frozen Yogurt: Indulge in Creamy Low-Calorie...Introduction to Vanilla Bean Frozen Yogurt Let me take you on a little journey to…
 -
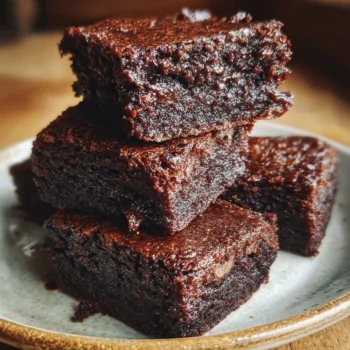 Vegan Chocolate Avocado Brownies: Indulge in Guilt-Free Fudgy...Introduction to Vegan Chocolate Avocado Brownies Let me tell you, these Vegan Chocolate Avocado Brownies…
 -
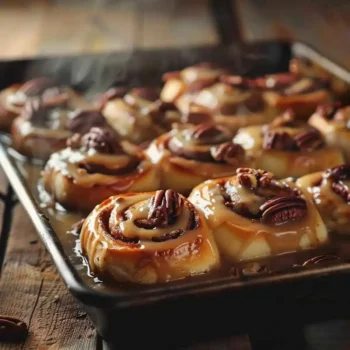 Brown Butter Pecan Cinnamon Rolls: A Decadent Breakfast...Imagine waking up to the aroma of warm cinnamon, toasted pecans, and caramelized brown butter…
 -
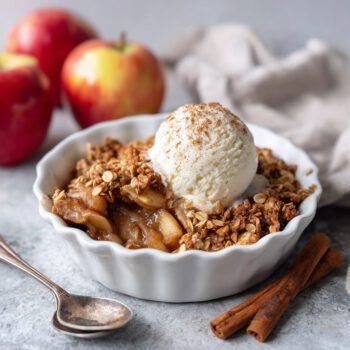 Cinnamon Apple Crisp: Irresistible Fall Dessert Delight!Introduction to Cinnamon Apple Crisp Ah, the joys of fall! As the leaves turn and…
 -
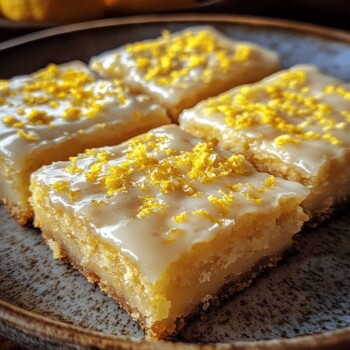 Zesty Lemon Brownies DelightBright. Buttery. Blissful. These Zesty Lemon Brownies are a lemon lover’s dream. Soft and chewy…
 -
 Apple Cinnamon Crumble with Oats – Easy Fall...Introduction When crisp autumn air rolls in and apples are in season, there’s nothing more…
 -
 Chocolate Strawberry Frozen Protein Pops: Healthy Sweet Treat!Introduction to Chocolate Strawberry Frozen Protein Pops Welcome to the delightful world of Chocolate Strawberry…
 -
 Latvian Sklandrausis Recipe: Discover a Northern European DelightIntroduction to Latvian Sklandrausis Recipe Let me take you on a little culinary journey to…
 -
 The Best Summer Dessert Recipe: Easy Frozen Strawberry...Creamy, crunchy, fruity summer bliss — frozen into nostalgic perfection. Published: May 31, 2025 ·…
 -
 Matcha Coconut Popsicles: Creamy Frozen Delight!Introduction to Matcha Coconut Popsicles Imagine a hot summer day, the sun blazing down, and…
 -
 Peruvian Lucuma Ice Cream Recipe: Delightful Flavor AdventureIntroduction to Peruvian Lucuma Ice Cream Recipe Let me take you on a delightful journey…
")
📧 Save This Recipe to Your Email
Enter your email address below and receive this recipe instantly.
🍴 More Recipes
Charred Corn and Tomato Salad: Discover a Tasty Grilled Veggie Delight
July 26, 2025Ultimate Beef and Broccoli Delight
December 6, 2025Lemon Garlic Herb Grilled Chicken: Zesty BBQ Favorite!
September 27, 2025Cheesecake Deviled Strawberries (No-Bake Dessert!)
July 23, 202516 Easy Fall and Winter Salads to Make Again and Again 🍂🥗
January 15, 2025