
Introduction to Thai Khanom Chan Recipe
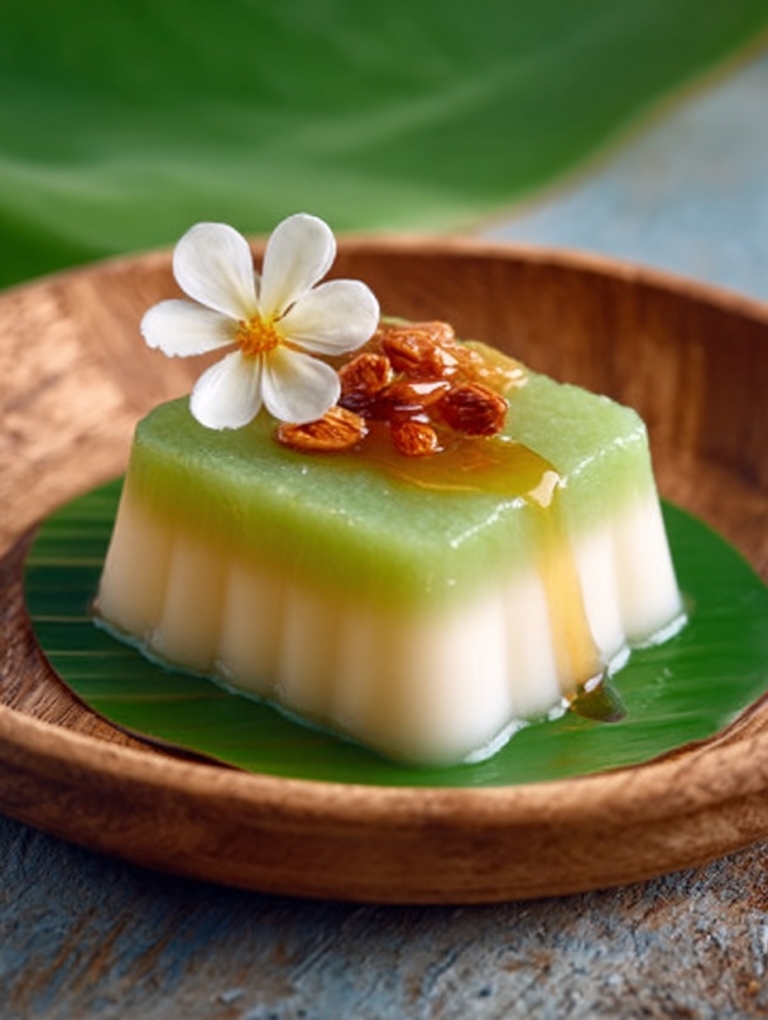
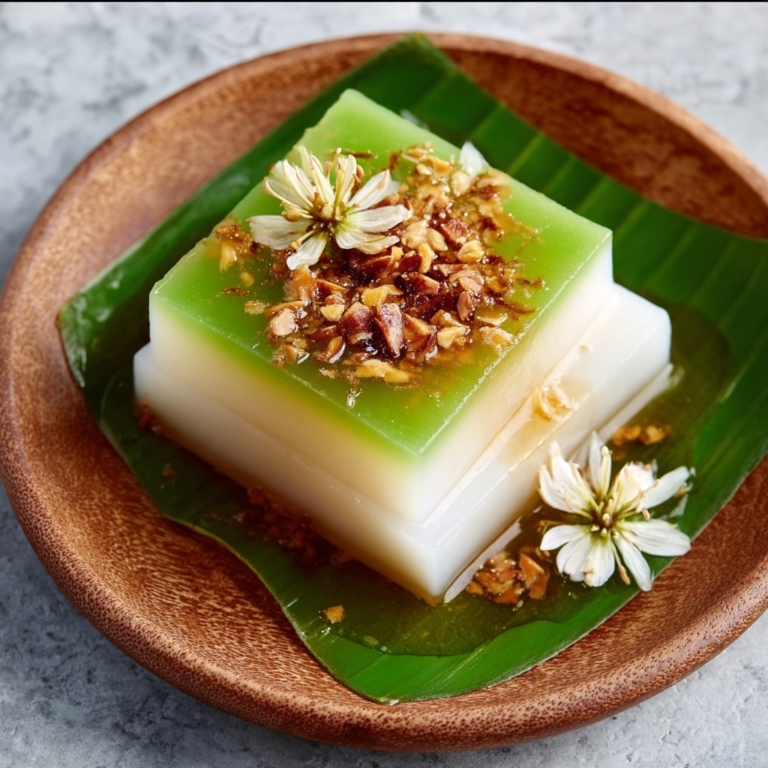
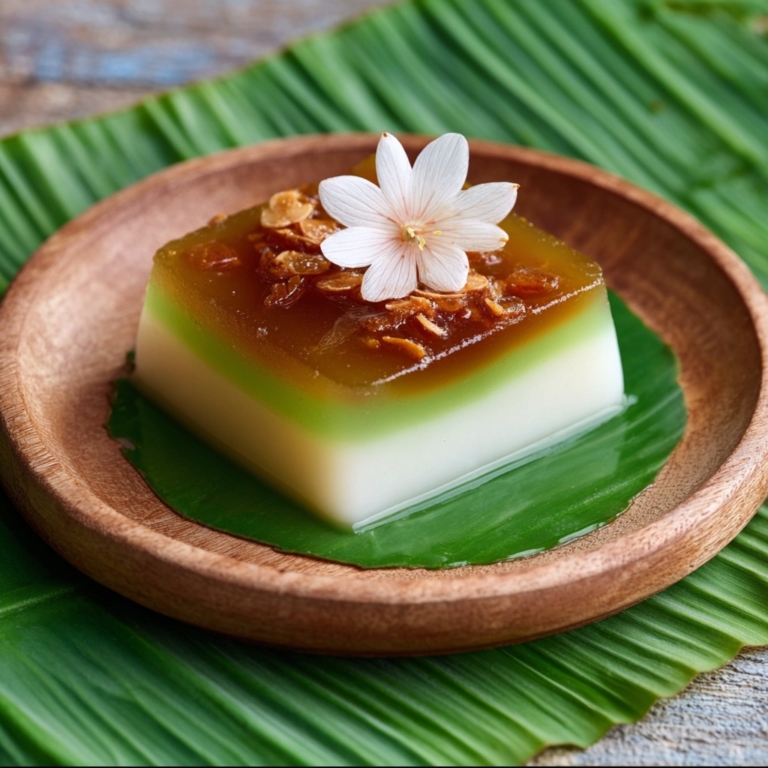
Let me take you on a sweet journey to Southeast Asia with the Thai Khanom Chan Recipe. This delightful dessert is a traditional Thai treat that’s as pleasing to the eyes as it is to the taste buds. Imagine layers of soft, chewy goodness, each infused with the rich, creamy flavor of coconut. It’s like a tropical vacation in every bite!

Now, I know what you’re thinking—who has time for elaborate desserts? But trust me, this recipe is perfect for busy women like us, aged 40 to 70, who want to whip up something special without spending hours in the kitchen. The simplicity of this layered dessert will surprise you, and the joy of creating such a visually stunning dish is truly rewarding.
Table of contents
- Introduction to Thai Khanom Chan Recipe
- Why You’ll Love This Thai Khanom Chan Recipe
- Ingredients You’ll Need
- How to Make Thai Khanom Chan Recipe
- Tips for Perfect Results
- Essential Equipment Needed
- Delicious Variations of Thai Khanom Chan Recipe
- Serving Suggestions
- FAQs About Thai Khanom Chan Recipe
- Final Thoughts on Thai Khanom Chan Recipe
Why You’ll Love This Thai Khanom Chan Recipe
First off, let’s talk about the prep time. With just 20 minutes of preparation, you can have everything ready to go. And the best part? Minimal cleanup! You won’t be left with a mountain of dishes, which is always a win in my book.
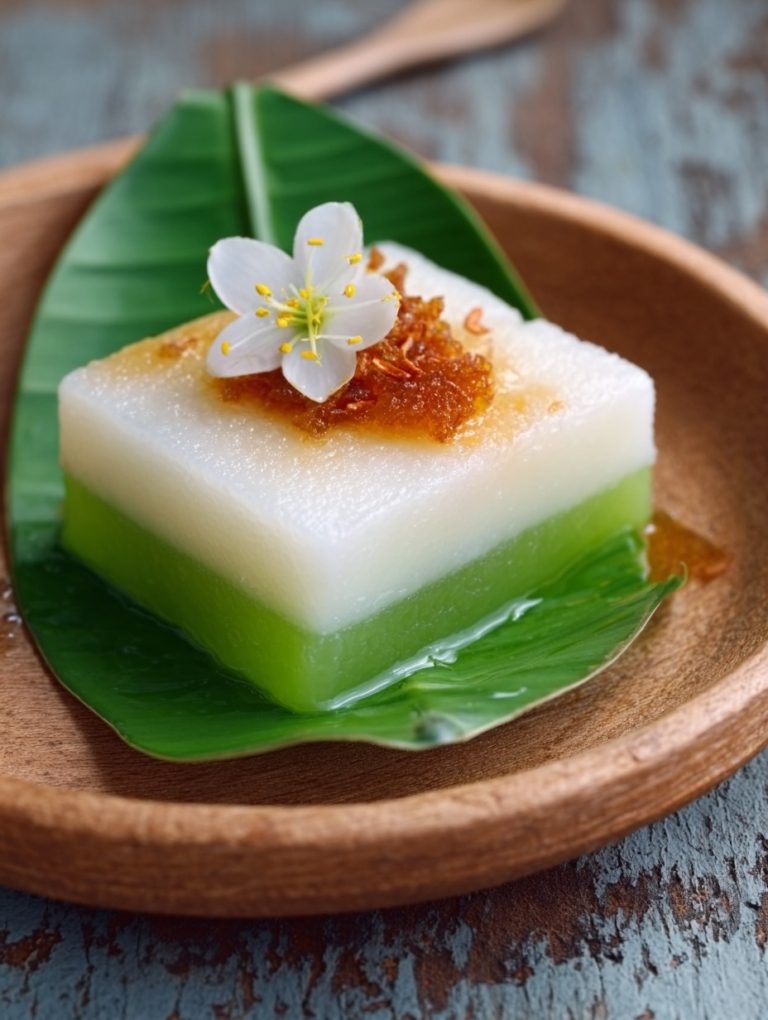
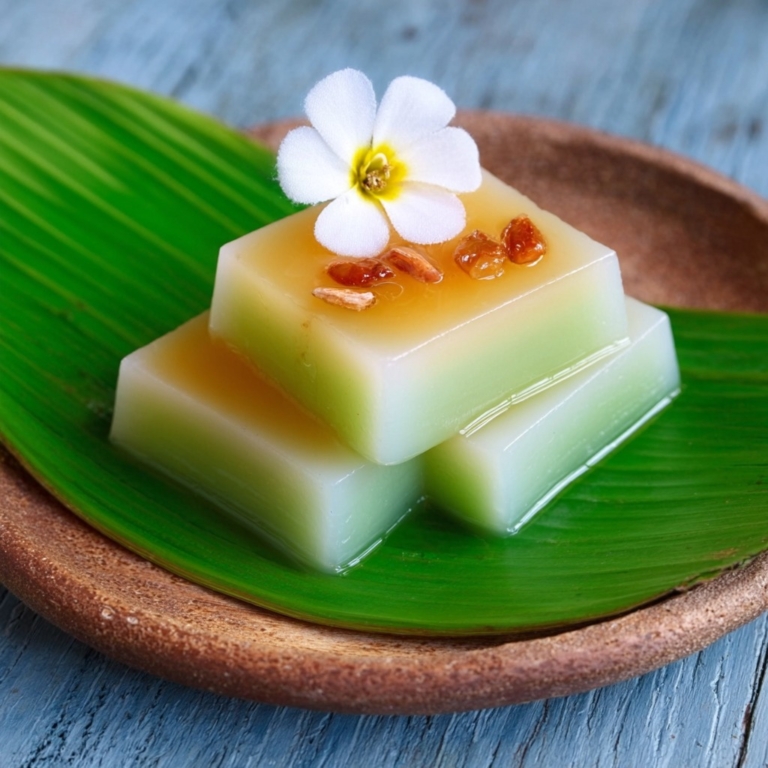
Family-friendly flavors are another reason to love this recipe. The sweet, coconut taste is universally appealing, even to the pickiest eaters. Plus, there’s something incredibly satisfying about making a beautiful, layered dessert from scratch. It’s like a little piece of art you can eat!
Ingredients You’ll Need
- 1 cup rice flour
- 1 cup tapioca flour
- 1 cup coconut cream
- 1 cup sugar
- 2 cups water
- Food coloring (optional)
Each ingredient plays a crucial role in this Thai Khanom Chan Recipe. The rice and tapioca flours create that signature chewy texture, while the coconut cream adds a rich, tropical flavor. Sugar sweetens the deal, and water helps bring everything together. If you’re feeling adventurous, a few drops of food coloring can add a fun, vibrant touch to your layers. For a healthier option, consider using natural food coloring.
Don’t worry about memorizing these measurements—I’ve got a printable version for you at the end of this article!
How to Make Thai Khanom Chan Recipe
Step 1 – Prep Ingredients
Start by combining the rice flour and tapioca flour in a mixing bowl. This is your base for the dessert, so make sure it’s well mixed. Next, in a saucepan, heat the coconut cream, sugar, and water over medium heat. Stir until the sugar dissolves completely. This mixture will be the heart of your Khanom Chan, infusing each layer with that irresistible coconut flavor.
Step 2 – Begin Cooking
Now, it’s time to bring everything together. Gradually add the coconut mixture to the flour mixture, stirring continuously. This step is crucial to avoid lumps, so take your time and enjoy the process. It’s almost like a mini workout for your arms!
Step 3 – Combine Ingredients
Divide the batter into two portions. If you’re using food coloring, add it to one portion now. This is where you can get creative with colors—think of it as painting with batter! Grease a steaming tray and pour a thin layer of the uncolored batter. This will be the first layer of your dessert.
Step 4 – Finish and Serve
Steam each layer for about 5 minutes, alternating colors, until all the batter is used. Make sure each layer is fully set before adding the next. This patience will pay off when you see those beautiful, distinct layers. Once all layers are steamed, let the dessert cool completely before cutting it into pieces. This cooling step is key for clean cuts and a picture-perfect presentation.
Tips for Perfect Results
Creating the perfect Thai Khanom Chan Recipe is all about patience and precision. Trust me, I’ve been there, eagerly waiting to see those beautiful layers come to life. The key is to ensure each layer is fully set before adding the next. It might test your patience, but the reward is a dessert that looks as good as it tastes.
Another tip is to use natural food coloring. Not only does it add a pop of color, but it also keeps things on the healthier side. Plus, it’s a fun way to experiment with different shades and hues. And remember, cooling the dessert completely before cutting is crucial. This step ensures clean cuts and distinct layers, making your Khanom Chan a feast for the eyes and the palate.
Essential Equipment Needed
To make this Thai Khanom Chan Recipe, you’ll need a few essential tools. A steaming tray is a must for creating those perfect layers. If you don’t have one, don’t worry! A large pot with a steaming rack works just as well. A mixing bowl and a saucepan are also necessary for preparing the batter and coconut mixture.
These tools are likely already in your kitchen, making this recipe even more accessible. And if you’re like me, always looking for practical alternatives, you’ll appreciate how adaptable this recipe is to what you have on hand.
Delicious Variations of Thai Khanom Chan Recipe
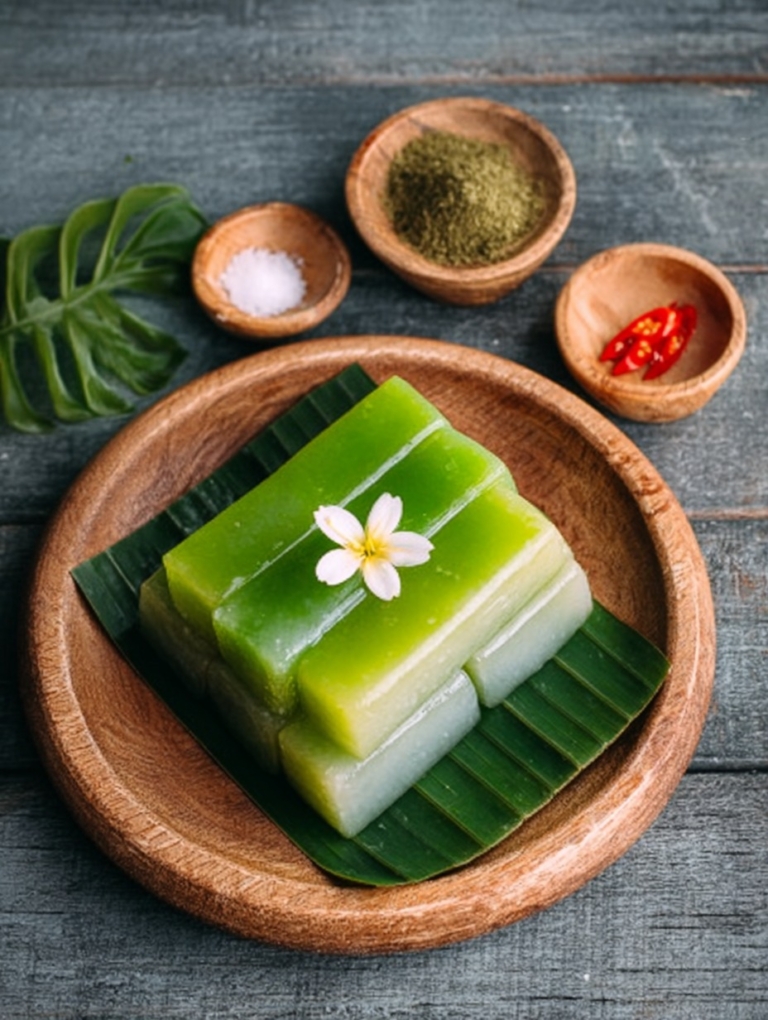
One of the joys of cooking is making a recipe your own. With the Thai Khanom Chan Recipe, there are plenty of ways to add your personal touch. For a fragrant twist, try adding pandan extract. It gives the dessert a lovely aroma that complements the coconut flavor beautifully.
If you’re looking for a lighter version, swap out the coconut cream for almond milk. It changes the texture slightly but still delivers a delicious result. And for those watching their sugar intake, consider reducing the sugar and adding a sugar substitute. These variations allow you to enjoy this delightful dessert while catering to your dietary preferences.
Serving Suggestions
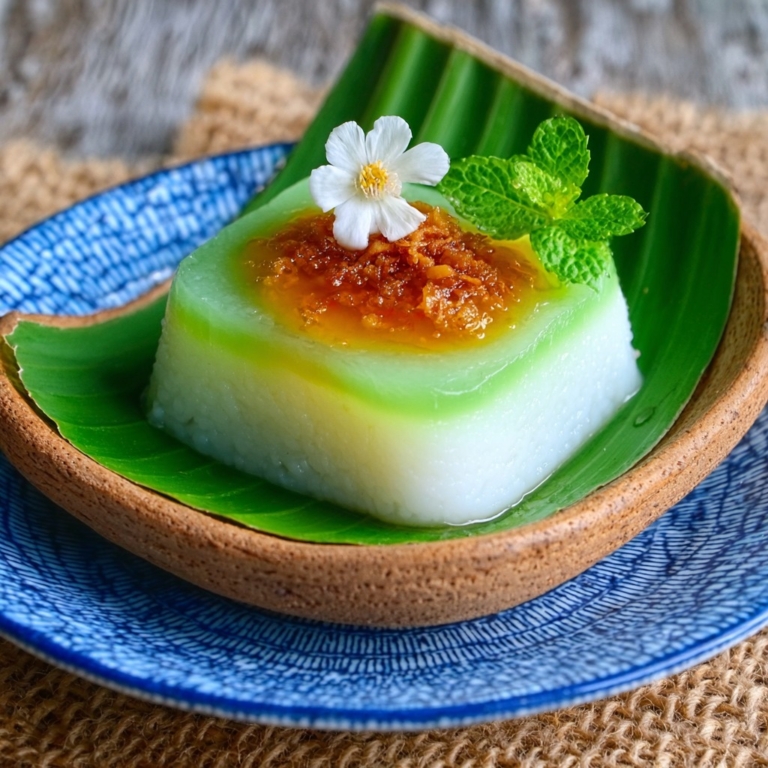
When it comes to serving this Thai Khanom Chan Recipe, presentation is everything. Pair it with a cup of jasmine tea for a complete Thai experience. The floral notes of the tea enhance the coconut flavors, creating a harmonious balance.
For a tropical touch, serve the dessert with fresh fruits like mango or pineapple. The juicy sweetness of the fruit complements the chewy texture of the Khanom Chan perfectly. Whether you enjoy it as a light dessert after a spicy Thai meal or as a sweet treat on its own, this dessert is sure to impress.
FAQs About Thai Khanom Chan Recipe
What is the texture of Khanom Chan?
The texture is soft, chewy, and slightly sticky, with distinct layers that melt in your mouth. It’s a unique experience that’s both satisfying and delightful.
Can I make this dessert ahead of time?
Absolutely! You can prepare it a day in advance and store it in the refrigerator. This makes it a great option for entertaining, as you can focus on other dishes while your dessert is ready to go.
Is Khanom Chan gluten-free?
Yes, it is naturally gluten-free, as it uses rice and tapioca flour. This makes it a wonderful option for those with gluten sensitivities or anyone looking to enjoy a gluten-free treat.
Final Thoughts on Thai Khanom Chan Recipe
Reflecting on the Thai Khanom Chan Recipe, I can’t help but smile at the ease and joy it brings. It’s a dessert that not only satisfies your sweet tooth but also offers a sense of accomplishment. There’s something truly special about creating a traditional Thai dessert that’s both beautiful and delicious.
I encourage you to try this recipe and experience the sweet, coconut flavors and stunning layers for yourself. Share it with family and friends, and watch as they marvel at your culinary creation. It’s a delightful treat that brings a taste of Southeast Asia right to your kitchen.
Print
Thai Khanom Chan Recipe: Master a Sweet Southeast Asian Delight
- Total Time: 1 hour
- Yield: 8 servings
- Diet: Vegetarian
Description
Khanom Chan is a traditional Thai dessert known for its beautiful layers and sweet, coconut flavor. This Southeast Asian delight is made with rice flour and coconut cream, creating a soft and chewy texture that is both satisfying and visually appealing.
Ingredients
- 1 cup rice flour
- 1 cup tapioca flour
- 1 cup coconut cream
- 1 cup sugar
- 2 cups water
- Food coloring (optional)
Instructions
- In a mixing bowl, combine rice flour and tapioca flour.
- In a saucepan, heat coconut cream, sugar, and water until the sugar dissolves completely.
- Gradually add the coconut mixture to the flour mixture, stirring continuously to avoid lumps.
- Divide the batter into two portions. Add food coloring to one portion if desired.
- Grease a steaming tray and pour a thin layer of the uncolored batter.
- Steam for 5 minutes or until set.
- Pour a layer of the colored batter and steam for another 5 minutes.
- Repeat the layering process until all batter is used, ensuring each layer is steamed before adding the next.
- Once all layers are steamed, allow the dessert to cool completely before cutting into pieces.
Notes
- Ensure each layer is fully set before adding the next to maintain distinct layers.
- Use natural food coloring for a healthier option.
- Prep Time: 20 minutes
- Cook Time: 40 minutes
- Category: Dessert
- Method: Steaming
- Cuisine: Thai
Nutrition
- Serving Size: 1 piece
- Calories: 150
- Sugar: 15g
- Sodium: 10mg
- Fat: 5g
- Saturated Fat: 4g
- Unsaturated Fat: 1g
- Trans Fat: 0g
- Carbohydrates: 25g
- Fiber: 1g
- Protein: 1g
- Cholesterol: 0mg


Related Posts
-
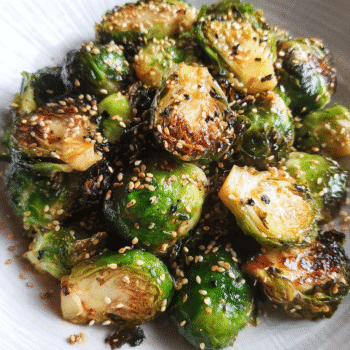
 Vibrant Asian Sesame Slaw: The Ultimate Fresh Picnic...Introduction to Asian Sesame Slaw Hey there, busy ladies! Whether you're a mom juggling family…
 -
 A French Roasted Ratatouille Tart That Redefines EleganceIntroduction to French Roasted Ratatouille Tart Let me introduce you to a dish that’s as…
 -
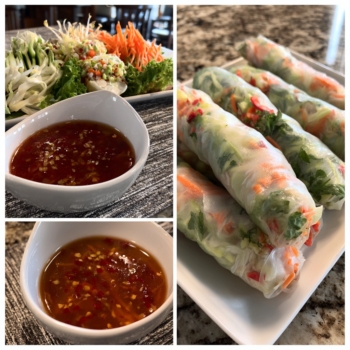 Vietnamese Fresh Spring Rolls: Taste This Light Appetizer!Introduction to Vietnamese Fresh Spring Rolls Imagine this: it's a busy weekday evening, and you're…
 -
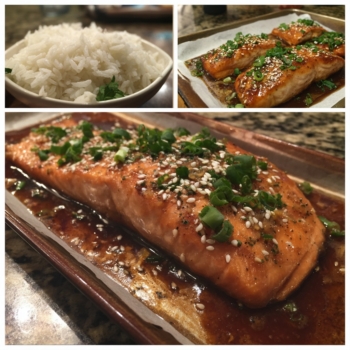 Japanese Teriyaki Salmon: Experience a Sweet Asian Dinner...Introduction to Japanese Teriyaki Salmon For busy women juggling work, family, and personal time, Japanese…
 -
 Mini Pecan Cups with Frosting – A Bite-Sized...Introduction If you're looking for the perfect miniature dessert that combines the rich, buttery flavor…
 -
 Mediterranean Stuffed Peppers: A Flavorful Dinner DelightIntroduction to Mediterranean Stuffed Peppers Let me take you on a little culinary journey to…
 -
 Apple Cinnamon Crumble with Oats – Easy Fall...Introduction When crisp autumn air rolls in and apples are in season, there’s nothing more…
 -
 Pineapple Mint Frozen Sorbet: Refreshing Summer TreatIntroduction to Pineapple Mint Frozen Sorbet Ah, summer! The season of sun-kissed days and balmy…
 -
 Filipino Halo-Halo Recipe: Discover Southeast Asia's Sweet DelightIntroduction to Filipino Halo-Halo Recipe Let me take you on a little culinary journey to…
 -
 Vanilla Bean Frozen Yogurt: Indulge in Creamy Low-Calorie...Introduction to Vanilla Bean Frozen Yogurt Let me take you on a little journey to…
 -
 Easy French Vegetable Gratin – A Creamy, Cheesy...Introduction to French Vegetable Gratin Ah, the French Vegetable Gratin! Just saying it makes me…
 -
 Udon Noodle Soup Recipe: Discover Japanese Comfort SecretsIntroduction to Udon Noodle Soup Recipe Ah, the joys of Japanese comfort food! If you're…
")
📧 Save This Recipe to Your Email
Enter your email address below and receive this recipe instantly.
🍴 More Recipes
Mango Lassi (No Added Sugar): Naturally Sweet & Creamy!
August 16, 2025Tropical Mango Avocado Salad: A Refreshing Summer Delight
July 26, 2025Cantaloupe Cucumber Mint Salad: Refresh Your Summer Meals
July 24, 2025BBQ Jackfruit Sandwiches: Vegan BBQ Delight Uncovered
August 20, 2025Korean Kimchi Fried Rice: Discover the Ultimate Comfort Food!
October 2, 2025